Introduction
So you’ve spotted trouble—perhaps a leak, odd noises, or inconsistent hot water—and reached out for repair. What happens next? In this post, we break down the water heater repair process from initial diagnosis to final testing. That way, you know exactly what to expect when a technician arrives.
We’ll also link back to the first post (warning signs) and forward to the third post (maintenance tips) so readers can follow the full loop.
Step 1: Pre-Arrival Preparation
What Happens Before the Tech Gets There
- You describe the symptoms (no hot water, leak, noise)
- You may be asked to shut off power, gas, or water to the heater
- The technician may ask for the heater make, age, and tank type
- They bring common parts and diagnostic tools
Having as much info as possible helps speed things up.
Step 2: Initial Inspection & Assessment
On Arrival
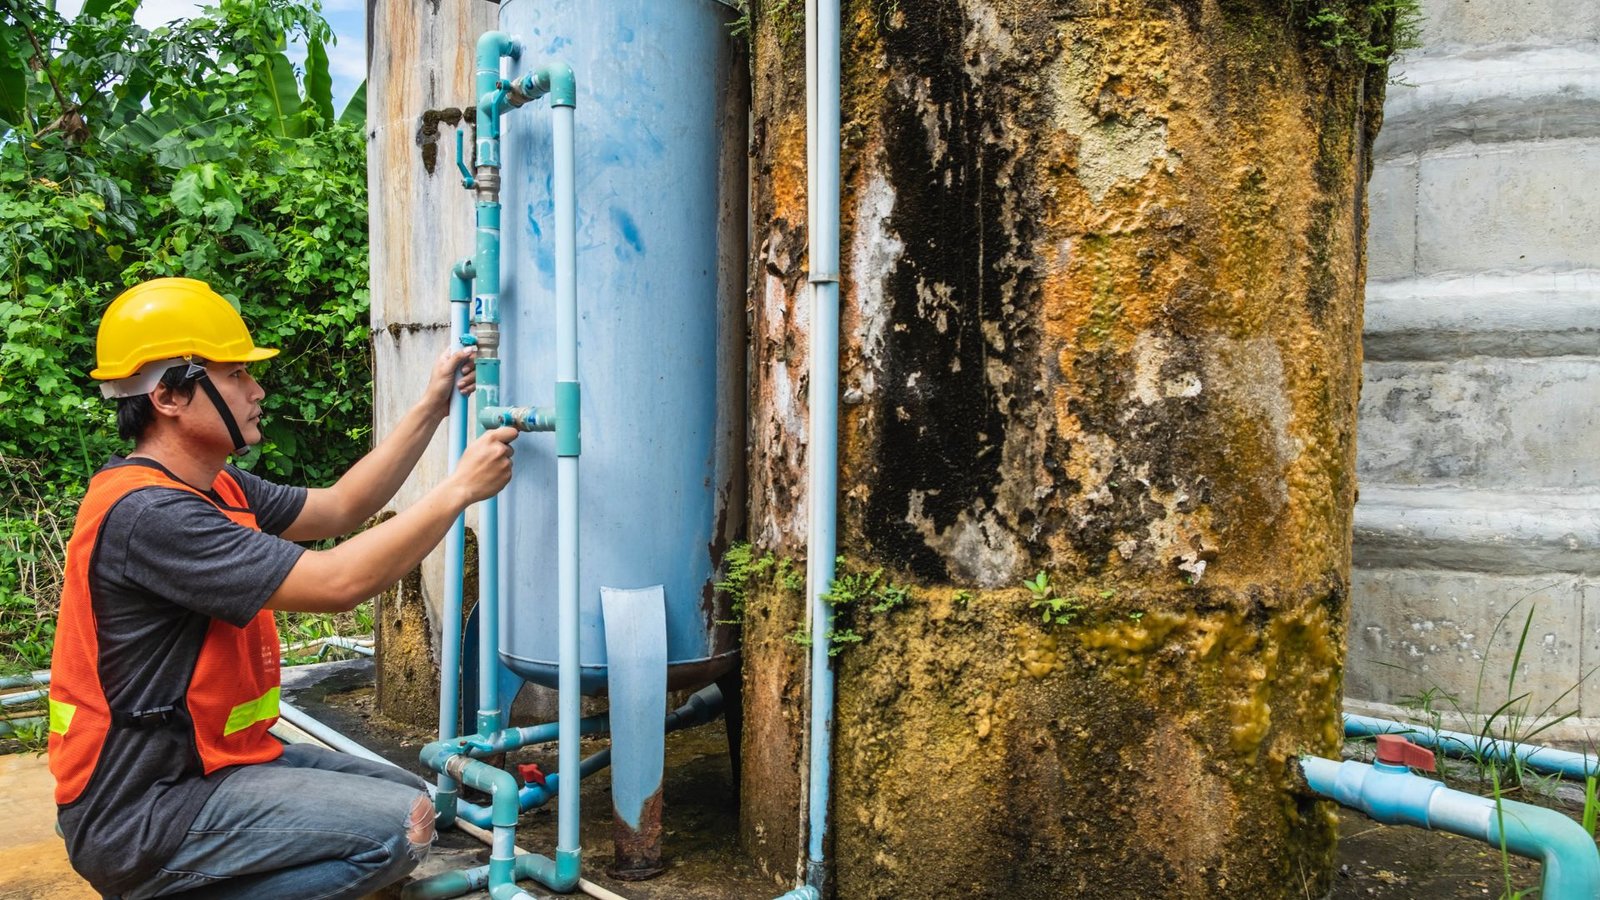
- Visual check for leaks, corrosion, and damage
- Confirm shut-off (power, gas, water)
- Check wiring, gas lines, and connections
- Measure water temperature and test thermostat
Diagnostic Techniques
- Multimeter testing (for electric heaters)
- Gas valve and thermocouple testing
- Pressure switch or relief valve test
- Partial tank flush to inspect sediment levels
After gathering data, the technician identifies what needs attention: element, valve, tank, or controls.
Step 3: Repair or Replace Components
Common Repairs
- Replacing heating elements or thermostats — for electric models
- Repairing valves — e.g. pressure relief or drain valves
- Addressing leaks or damaged pipe fittings
- Fixing gas controls or pilot assemblies in gas units
- Resealing fittings or joints
When Internal Tank Damage Arises
If corrosion or leaks within the tank surface appear, parts repair may not suffice. Sometimes repair is limited, and you may be advised toward replacement.
Step 4: Flushing & Cleaning
One critical step during many repairs:
- Flush water heater to remove mineral and sediment buildup
- Inspect sediment quantity—heavy buildup often indicates neglect
- Clean or replace anode rod (corrosion protection)
Flushing improves efficiency and may prolong repair success.
Step 5: Reassembly & Safety Checks
Once parts are replaced and cleaning done:
- Reconnect wiring, gas lines, valves
- Check all joints and fittings for tight seals
- Restore power, gas, and water supply
- Fill the tank (vent air)
- Test thermostat and temperature settings
- Monitor for leaks
The technician ensures all safety and operational checks pass before leaving.
Step 6: Post-Repair Testing & Monitoring
- Let the heater run for a set time to ensure stable output
- Test the pressure relief valve
- Check for any small leaks or drips
- Verify that hot water flow and temperature meet expectations
If anything seems off, the tech may stay until resolved.
What to Ask the Technician After Repair
- What exact issue was found and fixed
- What parts were replaced
- How can I monitor performance
- Are there signs that suggest future issues
- When should I schedule preventive maintenance
You’ll get more peace of mind and be better equipped to spot future problems.
Linking Back & Forward
This full process builds on the warning signs described in our first post — it’s what follows when you call for repair. In our third post, we’ll show how regular maintenance helps you avoid surprises and reduce the need for major repairs down the line.
If you’re ready to get your heater checked or repaired, you can start now at Water Heater Repair or reach out via Contact Us.